Intro
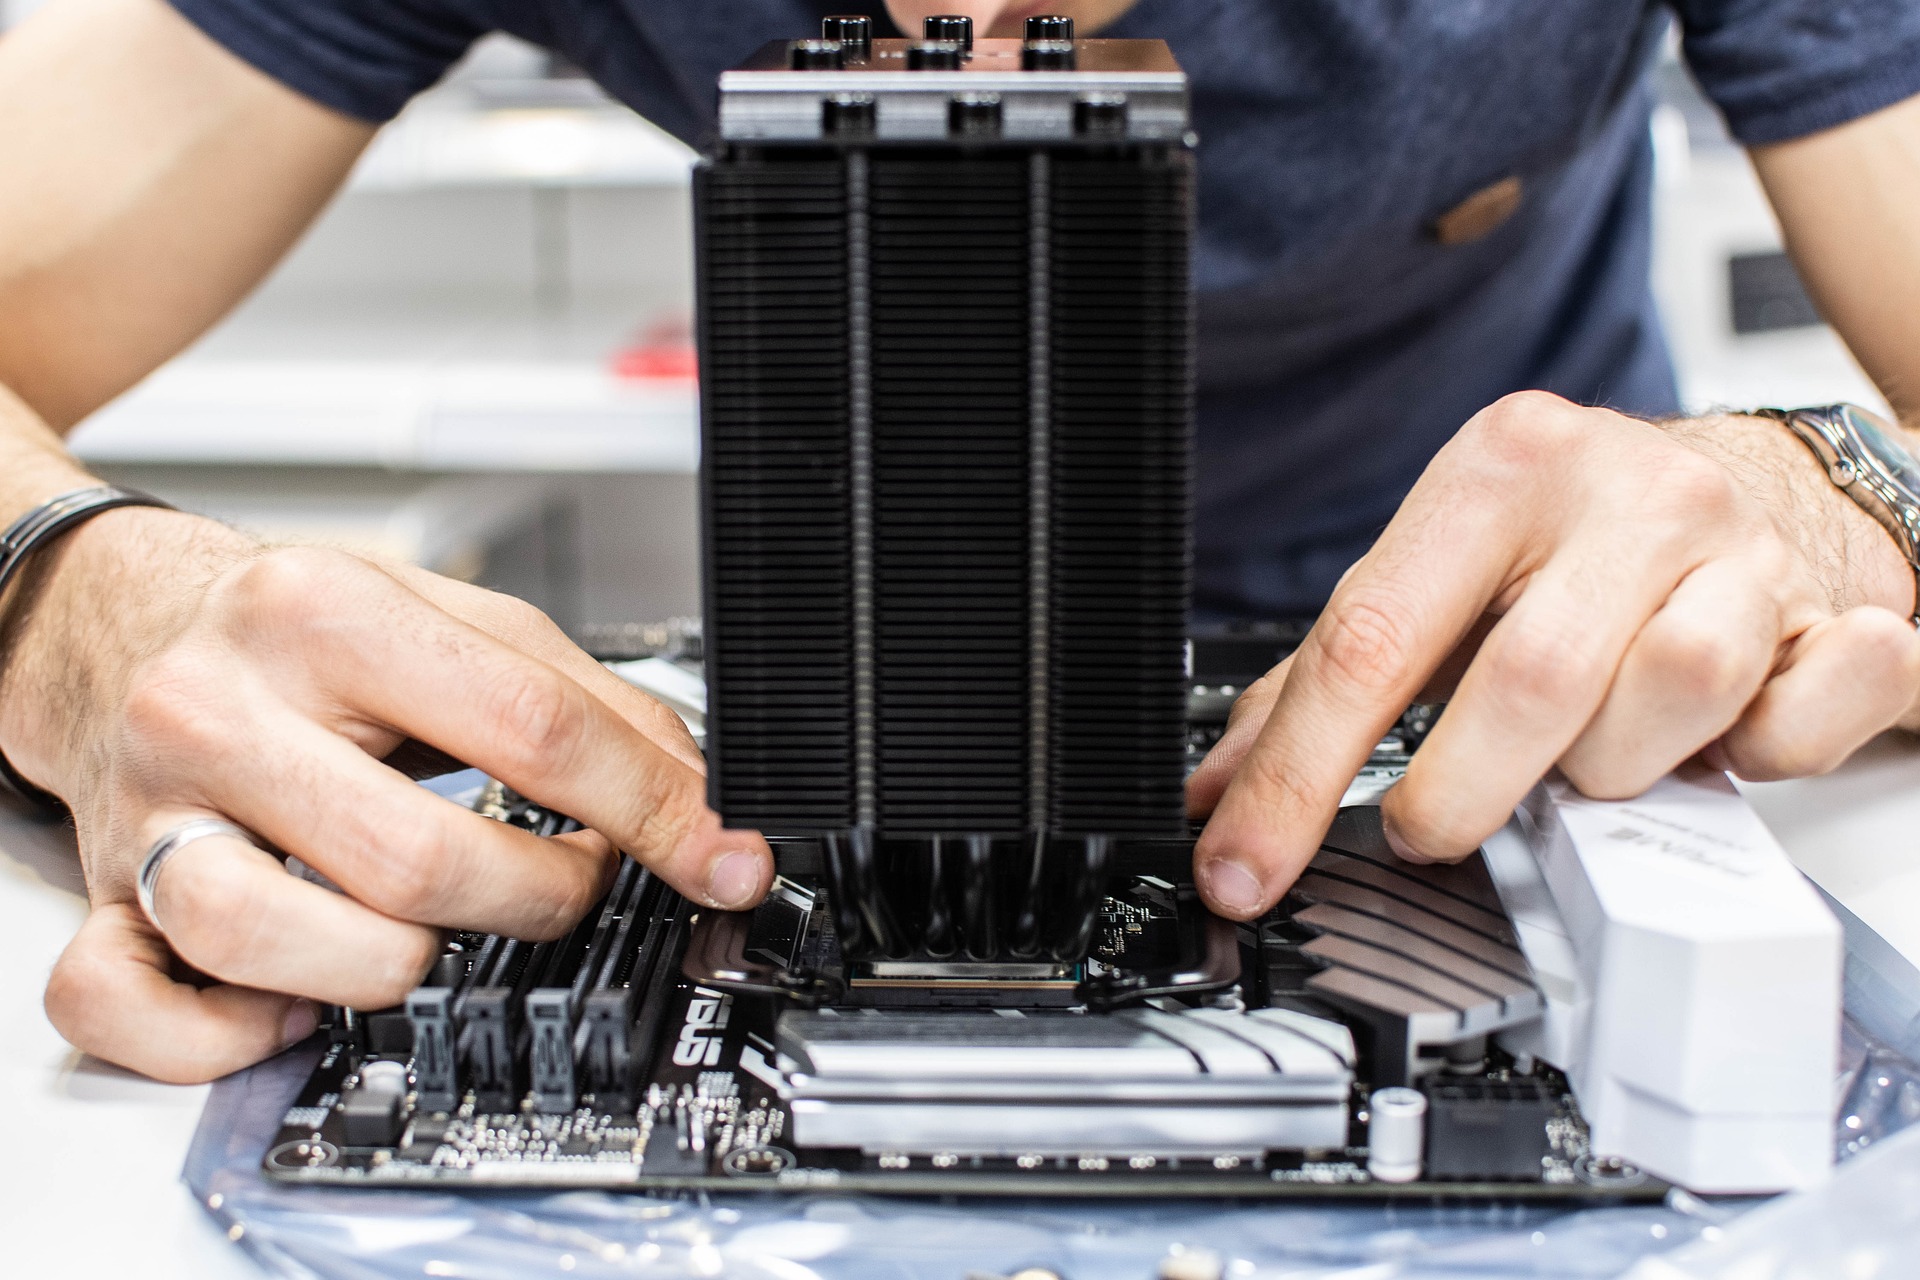
Building your own PC can be a fulfilling project for anyone with a knack for tinkering and a love for technology.
This handyman’s guide will walk you through a detailed PC building checklist, ensuring you get it right the first time.
This step-by-step guide will help you create a machine that fits your needs and budget while offering a deeper understanding of your PC’s inner workings.
Understanding Your PC Building Checklist Goals
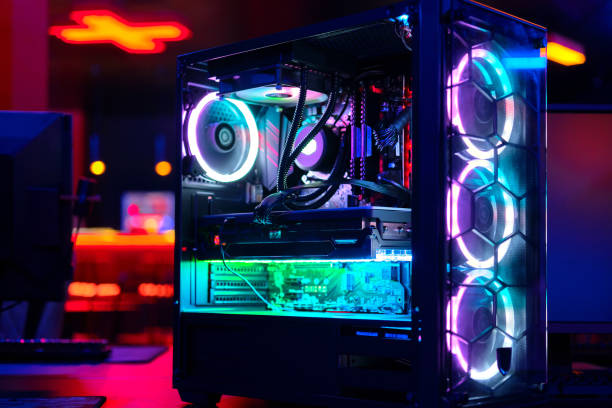
Before you start ticking items off your PC building checklist, it’s crucial to first establish the purpose of your machine. Consider the tasks your PC will be primarily used for.
Will you be venturing into the adrenaline-charged world of high-definition gaming?
Are you planning to create and edit professional-grade videos or graphics?
Or perhaps you’re simply seeking an efficient and affordable home office setup for everyday tasks like web browsing and document creation?
Gaming machines require powerful processors and graphic cards to handle resource-demanding games, while a content creation workstation needs a strong focus on a high-performing CPU and ample storage.
On the other hand, a general-purpose computer can function effectively with more modest, cost-effective components.
By having a clear vision of what you want your computer to achieve, you’ll be able to make more informed decisions as you move through your PC building checklist.
It’s about ensuring that every dollar you spend is strategically invested towards components that will deliver the performance you need.
This understanding is the compass that will guide your journey through the vast sea of processors, graphics cards, RAM options, and storage solutions. It is the key to unlocking a personalized PC build that aligns with your needs, goals, and budget.
Remember, a carefully planned and well-executed build can result in a machine that outperforms and outlasts any off-the-shelf model. So, it’s well worth the effort to get clear on your goals before you dive into the nuts and bolts of your PC building checklist.
This forward-thinking approach will not only save you from potential disappointments down the line but also enhance the satisfaction of building a PC tailored just for you.
Choosing the Right Components for Your PC
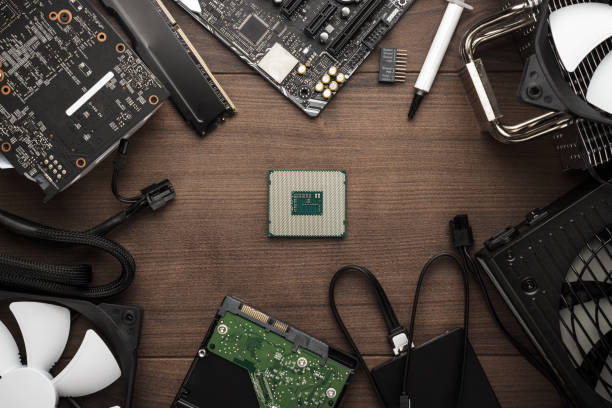
The success of your PC building endeavor largely hinges on selecting the right components. This is the moment in your PC building checklist where your tech wizardry comes to play.
When choosing a CPU, consider the speed and number of cores.
For hardcore gaming or high-end video editing, you might need a powerhouse like the latest Intel i7 or AMD Ryzen 7.
But if you’re just planning to use your PC for everyday tasks, a less pricey, but still reliable CPU could do the trick.
Next, pay attention to the motherboard. It’s like the nervous system of your PC, allowing all other parts to communicate.
Ensure it is compatible with your chosen CPU and can accommodate all your other components.
RAM is the short-term memory of your PC. For heavy multitasking or gaming, 16GB RAM should suffice, while 8GB RAM should be adequate for light usage.
Storage is another crucial part of your PC building checklist.
SSDs are much faster and reliable than traditional HDDs, although slightly pricier. It’s often a good idea to combine both – a smaller SSD for your operating system and most-used programs, and a larger HDD for other files.
Your choice of a graphics card (GPU) depends on your needs.
If you’re a gamer or a video editor, you might need a high-end GPU, but for everyday computing tasks, an integrated GPU will suffice.
Lastly, you’ll need to choose a power supply unit (PSU) that can sufficiently power all your components, a case that can house them, and possibly other peripherals like a monitor, keyboard, and mouse.
Each component choice should be guided by your specific needs and budget, which you should have clearly outlined in the earlier stages of your PC building checklist. So, ready to delve into the exciting world of PC components?
Let’s gear up and make those savvy tech choices.

Purchasing Your PC Components
Now that you’ve outlined your needs and carefully selected your components, it’s time for the most exciting part of your PC building checklist: purchasing your PC components!
Imagine, it’s almost like standing in the toy aisle, but this time it’s for grown-ups, and you’re buying parts to build your own powerful machine!
Take your PC building checklist and embark on your shopping expedition. Whether you prefer buying online or going to a physical store, make sure to purchase from reliable sellers.
Online platforms like Amazon, Newegg, and Best Buy offer a wide array of PC components.
They also often feature ratings and reviews from other customers, which can help you validate your choices.
Don’t rush this part of your PC building checklist.
Make it a point to scour for the best deals available. You might be surprised how much you can save with a little patience and smart shopping.
Sales events like Black Friday, Cyber Monday, or even mid-year sales can offer significant discounts.
While saving money is a plus, don’t compromise on quality. Ensure you buy components from trusted brands with good warranties. This is your peace of mind that the parts will last and perform as expected.
Remember, you’re not just buying parts; you’re investing in your dream machine.
And of course, compatibility is key.
Double-check that all the parts you’re buying will work well together. For example, make sure your chosen CPU is compatible with your motherboard, and your power supply unit can handle the load of all your components.
The last thing you want is to end up with components that can’t function together.
So, get ready to transform your PC building checklist into a shopping list. Enjoy this part of the process, after all, it’s not every day you get to build your own PC. It’s time to gear up and turn your dream machine into a reality!
Assembling Your PC
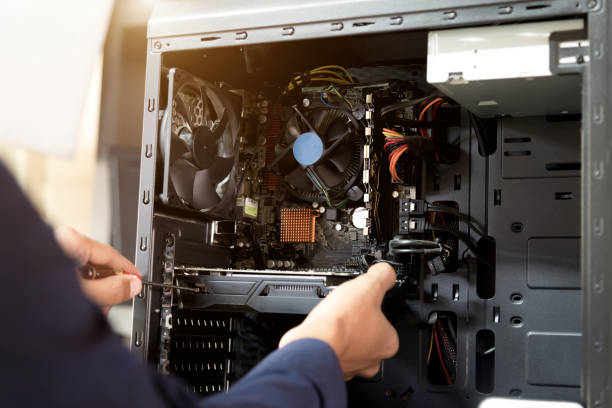
Welcome to the fun part of your PC building checklist — piecing it all together!
Now that you’ve got your stack of components in front of you, it’s time to channel your inner tech wizard and start the assembly process.
First off, remember to ground yourself before touching any components.
This is done by touching an unpainted metal surface to discharge any static electricity that could harm your precious PC parts.
This step is not to be overlooked as it can be the difference between a successful build and an expensive failure.
Think of this as a more complex, high-stakes version of building a LEGO set.
- Start by securing your chosen CPU onto the motherboard. Most CPUs will only fit one way, so ensure the alignment is correct before gently lowering it into place.
- Next, snap your RAM into its dedicated slots. Again, these components can only fit one way, so don’t force them!
- Your motherboard will be the first resident of the case, followed by the power supply unit.
- Next comes the installation of the storage devices and then the graphics card, which typically slots into the motherboard.
- The final internal component is your cooling system, vital for keeping your new machine running at optimal temperatures.
Connecting all the cables can seem daunting at first glance, but simply match the shapes, colors, and labels. The motherboard manual is a valuable tool for understanding where each cable should be plugged.
During this process, take your time.
This isn’t a race, and the beauty of building your own PC is that you can make changes as you go along. If something doesn’t feel right, take a step back and reassess.
Remember, patience is your best ally here.
Enjoy the process of seeing your PC take shape before your eyes. As the saying goes, “Rome wasn’t built in a day,” and neither is a custom-built PC.
When each piece finds its home, and all the cables are connected, you’ll be one step closer to powering up your custom-built machine for the first time.
Now, that’s an exciting thought!
Installing the Operating System
So you’ve pieced together your machine and now it’s time to breathe life into it.
The next adventure on your PC building checklist is installing the operating system, also known as the ‘OS’. This is the software that oversees all other software and hardware on your machine.
It’s what you interact with as you surf the web, play games, or create documents.
Windows is a popular choice for many, thanks to its user-friendly interface and compatibility with a vast array of applications. However, the world of operating systems is vast and varied.
If you’re feeling a little more adventurous, you might decide to go for Linux, an open-source OS known for its flexibility and security features.
Alternatively, you might opt for MacOS, if your hardware permits, which offers a seamless user experience, especially if you’re already embedded in the Apple ecosystem.
So, how do you go about installing your OS?
You’ll need to purchase your OS from a licensed dealer, either as a physical disc or a digital download. If you opt for a digital download, you’ll need to create a bootable USB stick or DVD to install it.
This might sound a little daunting, but don’t worry, there are plenty of easy-to-follow guides online to help you through the process.
Once you’ve got your installation media ready, it’s time to plug it into your newly built PC and boot it up.
You’ll see the setup process for your chosen OS start on your monitor.
From here, simply follow the on-screen instructions, input your product key when prompted, and let the installer do its thing.
As the installer chugs along, take a moment to pat yourself on the back.
You’re nearing the finish line of your PC building checklist. Your custom-built PC is on its way to becoming a fully functioning computer, ready to take on whatever tasks you throw at it.
But hold that victory dance, we still have a few more steps to go!
Installing Essential Software and Drivers
Now that your shiny new machine is up and running with an OS, let’s bring it fully to life with the next part of your PC building checklist. Software and drivers, the lifeblood of your system, are next in line.
Consider the drivers as the interpreters between your hardware and the OS.
These small pieces of software ensure that your OS understands how to communicate with each piece of hardware in your system, from the motherboard to the graphics card.
Without them, your PC would be a glorified paperweight, so it’s essential to ensure they are up-to-date for maximum performance and stability.
Updating your drivers is usually a straightforward process.
Visit the manufacturers’ websites of each of your components, search for your specific model, and download the latest drivers.
Some components like your GPU may come with software that will automatically keep your drivers updated, so make sure to take advantage of those.
With your drivers updated and your hardware singing along nicely with your OS, it’s time to turn your attention to software. Install a reliable web browser for surfing the web. Google Chrome, Firefox, and Edge are some popular choices.
Don’t forget the essentials like antivirus software to safeguard your machine from potential threats. There are plenty of options out there, both free and paid, so choose one that fits your needs.
Productivity tools are next on the software installation list.
Whether you’re using your PC for work or school, software like Microsoft Office or Google Workspace will come in handy.
If your PC is destined to be a gaming powerhouse, you’ll want to install a game client like Steam, Epic Games, or Origin.
And don’t forget the fun stuff! Install your favorite media player, music software, and any other apps you love to use.
The beauty of building your own PC is that you get to choose exactly what goes onto it. So, take this part of your PC building checklist as an opportunity to craft your personalized digital workspace. After all, this is your machine, built by you, for you. Now, let’s see what it can do!

TLDR
So, you’re taking the leap into building your own PC? This handy PC building checklist has got you covered!
Start by identifying your needs and goals for your PC.
Are you gaming, creating content, or simply cruising through daily computing tasks?
These factors will guide your decisions as you choose and purchase the components that best fit your budget and performance needs.
When your components arrive, it’s time to roll up your sleeves and assemble your dream machine.
But don’t stop there! Installing the operating system, software, and drivers brings your PC to life, letting you explore the digital world as you please.
Remember, patience is key in this process. After all, good things take time, and your self-built PC will be worth the wait.
Building a PC can be intricate and challenging, but with this checklist, you’ll have a comprehensive guide to help you every step of the way. Happy building!
