
Intro
Anime hair is iconic and unique, making it a crucial part of character design in the world of anime and manga. Its various styles and colors set the tone for a character’s personality and traits.
Understanding how to draw anime hair can elevate your art and bring your characters to life. This blog post dives deep into the essentials of drawing anime hair, highlighting what makes it distinct and how you can master its creation.
Understanding the Basics of Anime Hair
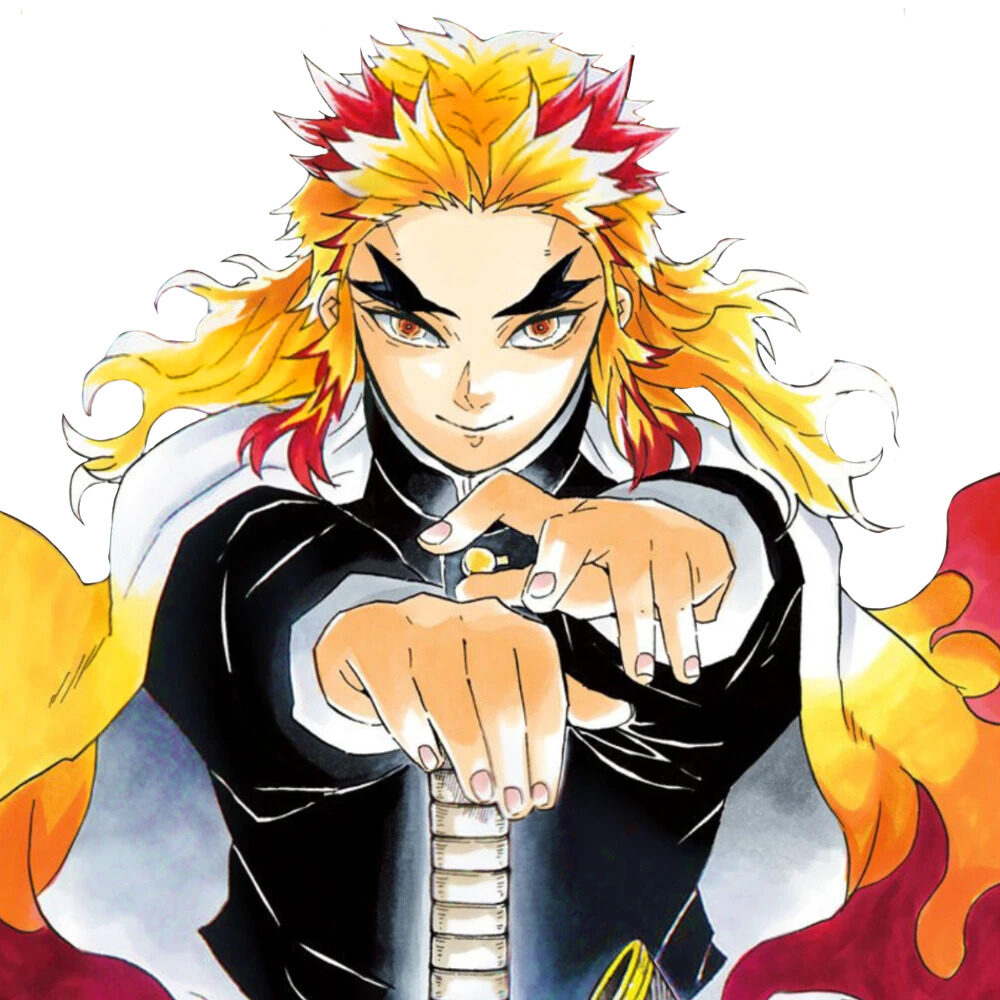
Anime hair transcends mere strands on a head. It’s an art form that captures the essence of emotion, style, and motion in a way that real hair simply cannot.
Unlike its realistic counterpart, anime hair often defies the laws of physics, sporting exaggerated shapes and vibrant colors that can tell you a lot about a character at just a glance.
To start mastering how to draw anime hair, you must first grasp its significance in character design. This style of hair doesn’t just sit there; it plays a pivotal role in expressing a character’s personality.
For example, spiky hair may reveal an energetic or rebellious nature, while smooth, flowing locks might indicate grace or serenity.
Each style serves a purpose, imbuing characters with life beyond the page or screen.
Recognizing this can transform the way you approach drawing anime hair, setting the foundation for dynamic and expressive creations that resonate with viewers.
This initial understanding is crucial for anyone learning how to draw anime hair, as it paves the way for more intricate styling and detailing work that follows.
Choosing the Right Style for Your Character
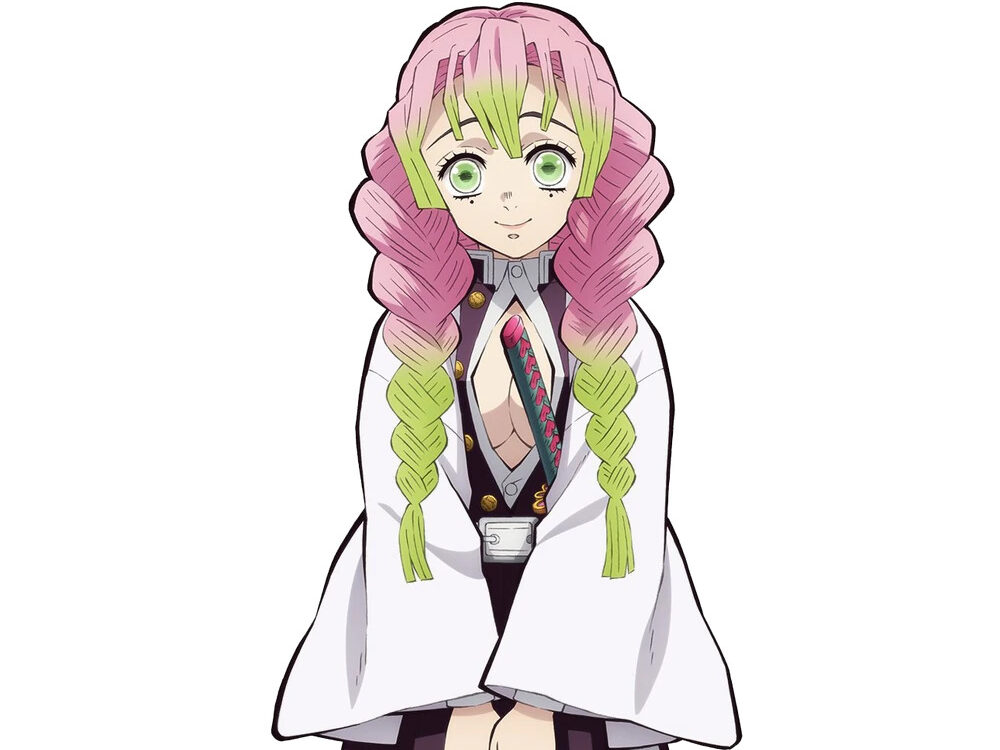
Choosing the right anime hair style is critical for your character’s identity. Consider what their personality, role in the story, and the setting suggest about their appearance.
A character with a fiery, aggressive personality might sport spiky, bold hair, while a calm, thoughtful character could have sleek, flowing locks.
The era or world your story occupies also influences hair style choice. Futuristic worlds often feature characters with sharp, geometric haircuts, indicating technology and advancement.
Conversely, a story set in a more traditional or historical context might require softer, more natural hair styles that reflect the period’s aesthetics.
Before finalizing the design, sketch several quick thumbnails to explore different options. This step helps visualize what works best for your character without committing too much time to one concept.
It’s a process of trial and error, leading you to the perfect hairstyle that not only looks good but also complements your character’s personality and background effectively.
Remember, the goal is to ensure the hair style enhances the character’s overall design, not distract from it. Each choice in the hair’s appearance, from its length and color to texture and shape, contributes to the character’s visual storytelling.
So, take your time in this phase, as selecting the right style can significantly impact your character’s presence and memorability in the story.
Drawing the Basic Shape and Volume
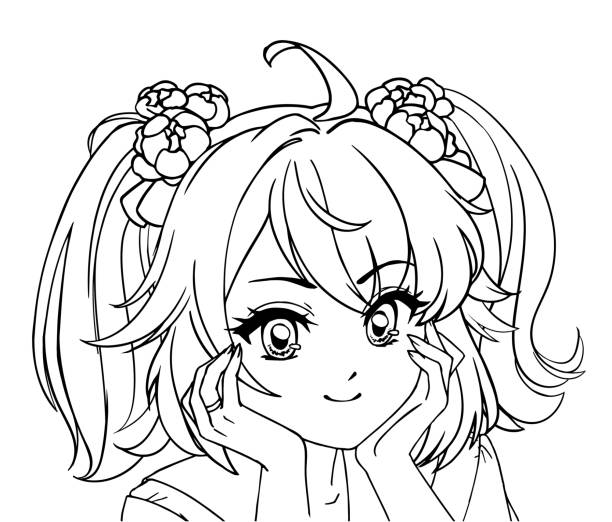
Begin by visualizing the anime hair as a unified mass rather than individual strands.
Sketch out simple geometric shapes to capture the overall volume and flow. This technique helps you understand how the hair will sit on the character’s head.
It’s crucial to establish where the hair parts and in which direction it falls right from the start. Doing so lays a solid foundation for a realistic yet stylized appearance.
Next, refine these geometric shapes into a more detailed outline, keeping the hair’s volume in mind. Consider how gravity affects the hair’s shape and the character’s current action or pose. Is the hair flowing gracefully, or is it dynamic and spiky, suggesting movement?
Always remember that the root of all anime hair lies at the scalp. Ensuring that the hair appears to grow naturally from this point adds credibility to your character’s design.
As you sketch, think about the weight and thickness of the hair. Heavy, thick locks will fall differently compared to light, thin hair. This consideration significantly influences the hair’s shape and volume.
Lastly, avoid making the hair appear glued to the head. Introduce some lift at the roots to suggest volume and life. This space between the scalp and the hair’s beginning adds dimension and realism, even in the exaggerated context of anime hair styling.
Adding Details and Textures
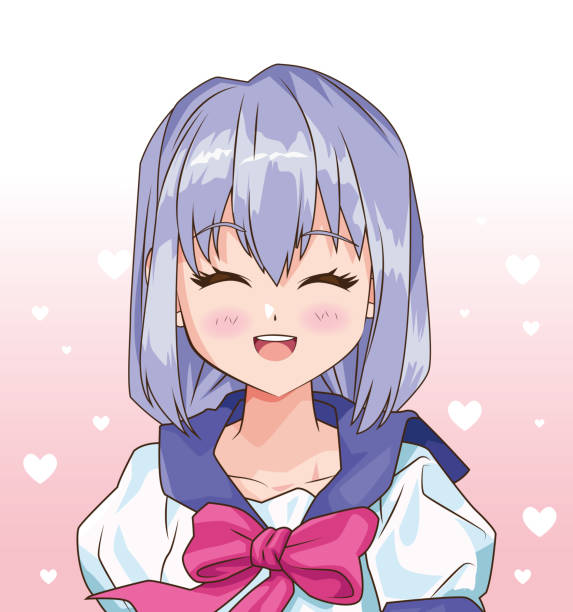
After establishing the basic shape, dive into detailing and texturing the anime hair. Focus on dividing the hair into larger sections rather than drawing each strand. This approach maintains the anime style while keeping the drawing manageable.
Pay close attention to how sections of hair layer over one another. This interaction plays a significant role in conveying the character’s movement and emotions. Observe the direction in which the hair moves or rests, allowing for a more natural and dynamic depiction.
When adding texture, consider the character’s environment and activities. For instance, a character who’s outdoors may have more wind-blown hair, requiring varied texturing compared to one in a calm setting.
Use light strokes to suggest the hair’s texture, avoiding heavy-handedness that can make the hair look unnatural. Experiment with different thicknesses and lengths of lines to simulate various types of hair textures, from silky smooth to coarse.
Remember, the goal is to enhance the anime hair’s believability and appeal without overwhelming the character’s overall design.
This balance is crucial in creating a compelling and visually interesting character.
Mastering the Art of Anime Hair Highlights
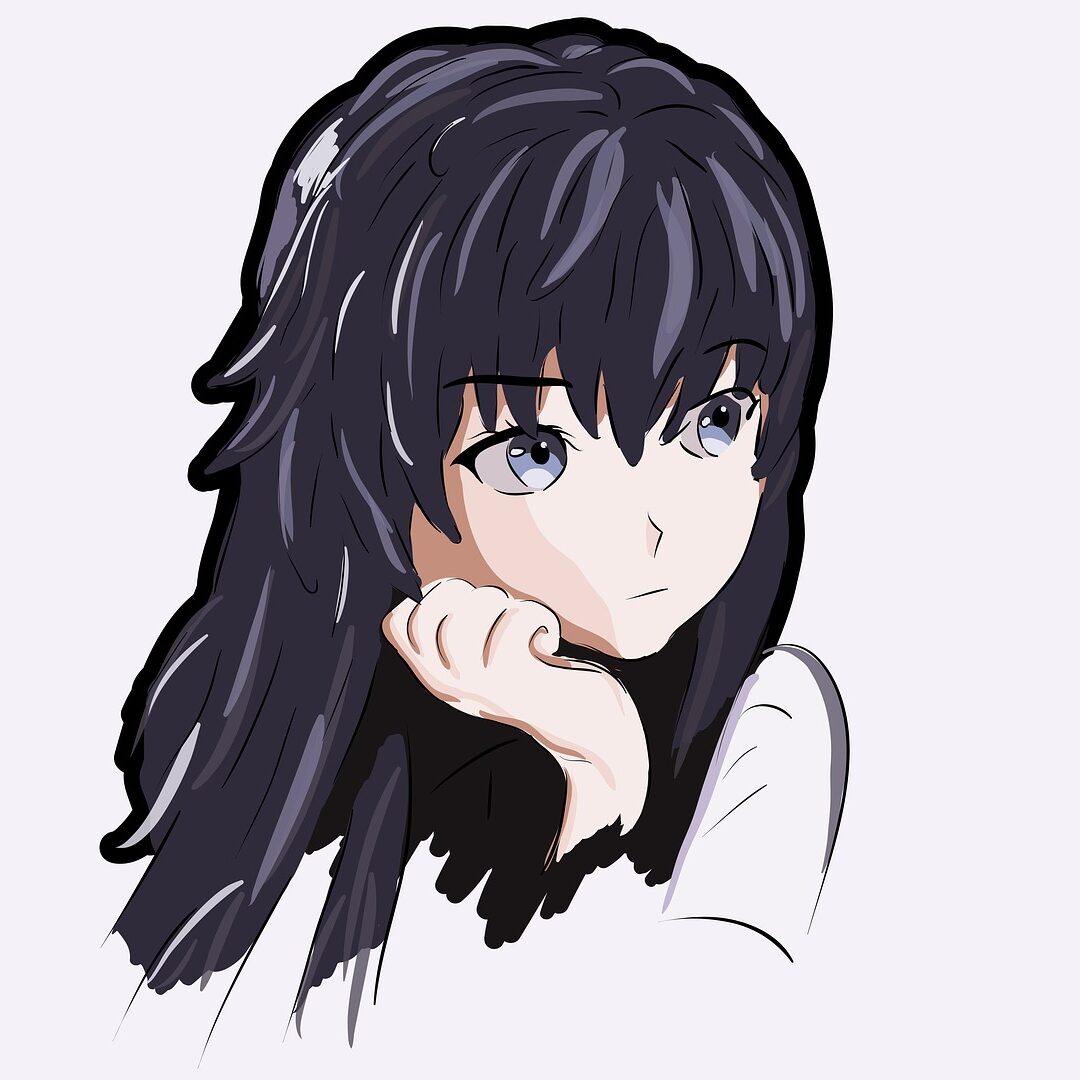
Anime hair isn’t complete without the strategic placement of highlights. These bright spots mimic the reflection of light, bringing vitality and dimension to your character’s hair. Begin by identifying your light source.
This decision will guide you in positioning the highlights correctly. For a more natural effect, use soft, curved lines that follow the hair’s flow. It’s essential to consider the shape and volume of the hair when adding highlights.
Place them where the light naturally hits the most prominent parts of the hair.
This technique accentuates the form and adds depth.
Avoid overdoing it with too many highlights, as this can make the hair look metallic or unnatural.
Instead, focus on key areas that would naturally catch light. Use a lighter version of the base color for a subtle effect or a stark white for dramatic shine. Remember, the goal is to enhance the hair’s appearance, not to overshadow it.
Experiment with different highlight shapes and intensities. Varying the thickness and length of your highlight lines can create diverse textures. This variety can suggest everything from sleek, glossy locks to soft, sun-kissed waves.
By paying close attention to the placement and execution of highlights, you’ll add life and realism to your anime characters, making their hair truly stand out.
Coloring Techniques for Anime Hair
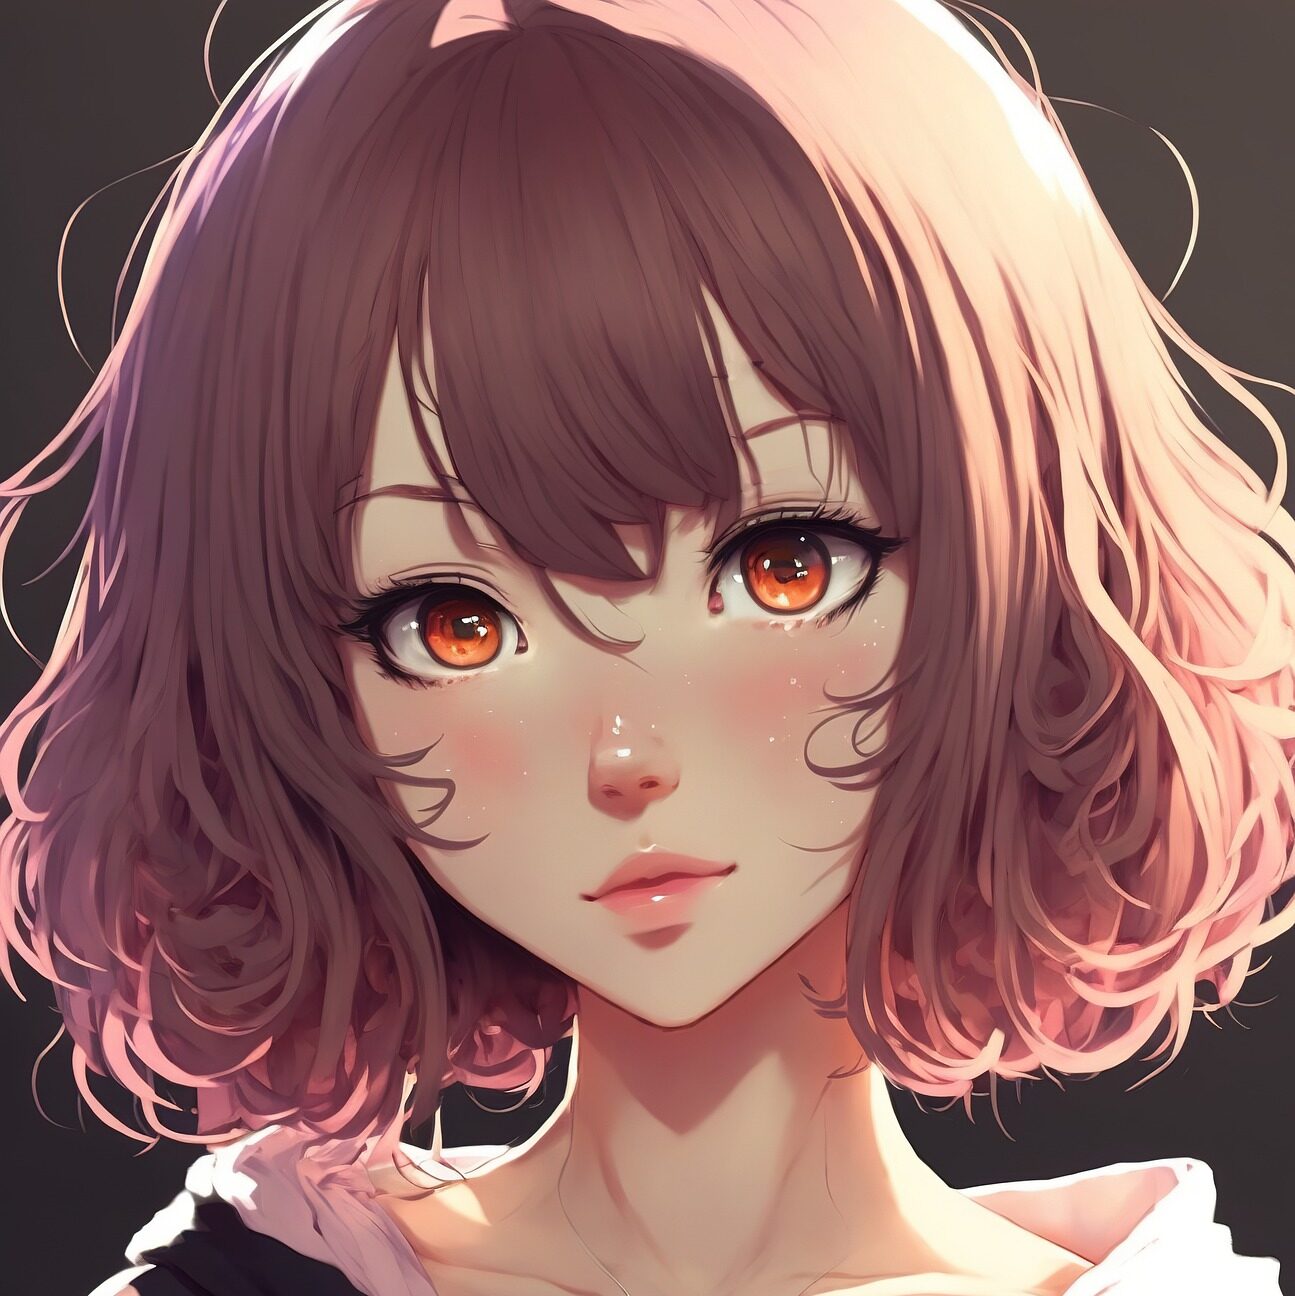
Color transforms anime hair from simple outlines to vibrant, lifelike creations. Select colors that match your character’s essence and role. Begin with a solid base color, laying the foundation for depth and vibrancy.
Next, introduce shadows to sculpt the hair’s form, choosing shades a few tones darker than the base. This step adds volume and dimension, making the hair pop.
Highlights are crucial, too. Pick a lighter tone for these, applying them where light naturally strikes the hair. This technique brings out the shape and texture, giving the hair a dynamic, three-dimensional look.
When working digitally, layering these colors allows for smooth transitions and depth control. Traditional artists can achieve similar effects by blending pencils or markers.
Experiment with various hues to see what best suits the character’s personality and the scene’s mood. Sometimes, unconventional colors work best for anime hair, offering unique and memorable character traits.
But remember, balance is key. Too much contrast between shades can distract from the character’s overall design.
Finally, play with the intensity of your colors. Soft, pastel tones can suggest innocence or gentleness, while bold, saturated colors might hint at a strong or fiery personality. The choice of color not only defines the hair but also contributes significantly to the character’s identity in the story.

Common Mistakes to Avoid
Drawing too many strands can clutter anime hair, making it look messy instead of detailed. Also, overlooking the light source often results in hair that lacks depth and appears flat.
Ensure the hair style complements the character’s personality and story role; mismatched styles can detract from the character’s believability.
Avoid making the hair look like it’s stuck to the head by adding volume at the roots. This mistake can make the hair seem lifeless and unrealistic.
Overusing highlights can give the hair an unnatural, metallic sheen. Instead, apply them sparingly to enhance the hair’s texture and shape. Forgetting to consider the weight and flow of the hair can lead to unrealistic hair movement, especially in action scenes.
Lastly, using colors that clash with the character’s overall design can distract viewers from the character’s essence. Stick to a cohesive color scheme that reflects the character’s traits and the story’s mood.

Practice, Practice, Practice
To master how to draw anime hair, engaging in regular practice is essential. Dive into exploring a variety of hair styles, colors, and detailing techniques. Challenge yourself with different character designs to see how hair plays a role in their overall appearance.
Look at real-life hair for inspiration and compare it to your favorite anime characters. This will help you understand the transition from realistic to stylized hair.
Don’t shy away from experimenting. If a particular style doesn’t come out right the first time, try again. Adjust your approach with each attempt. Note what works and what doesn’t.
Sketching regularly builds muscle memory, making it easier to capture the flow and volume of anime hair over time.
Take advantage of online tutorials and workshops focused on how to draw anime hair. Many artists share their processes, offering insights into techniques that might suit your style.
Engage with communities of fellow artists. Sharing your work and receiving feedback can pinpoint areas for improvement you might have missed.
Remember, every artist has a unique journey. Progress might be slow at times, but persistence pays off. Keep pushing your limits, and gradually, you’ll see your ability to draw captivating anime hair improve.

TLDR
Master the art of anime hair by grasping its significance in character design first. Select styles that align with your character’s persona and narrative role.
- Start with broad shapes to outline the hair’s volume, then refine these into detailed silhouettes.
- Focus on creating a natural flow, considering the character’s action and the environment.
- Detailing comes next; divide hair into sections rather than strands for manageability.
- Implement highlights thoughtfully, placing them where light naturally hits. Color choices should reflect the character’s essence, with careful selection of base, shadow, and highlight tones.
- Avoid common pitfalls such as excessive detail, ignoring the light source, or mismatched styles.
Continuous practice and experimentation will refine your skills.
Engage with tutorials and community feedback to enhance your technique. This concise approach will improve your anime hair drawings, making your characters stand out.

You may be interested in our other Anime Posts
